
Review Summary
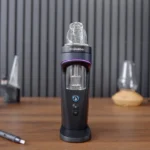
The Solo 2 MAX continues Arizer’s legacy and is easily one of the top options in [year]. It keeps the same simple and functional design but features incremental upgrades that make it a better unit. The Solo MAX is a straightforward vaporizer with the easiest and fastest loading procedure out there. The flavor is incredible, and the results are predictable and consistent. The Solo 2 MAX is a great choice for beginners and pros alike, as long as you don’t mind the size. It compensates for the lack of portability with long battery life and delicious vapor.
✓ Pros
- Super simple to use and clean
- Pure flavor, outstanding vapor quality
- Efficient extraction
- Long-lasting battery with over 10 sessions per charge
✗ Cons
- Large, not discreet
Pricing Info ⓘ
Specifications
Arizer Solo 2 MAX
|
|
|---|---|
| Score (1-5) |
4.2 Current Review |
| Brand | Arizer |
| Retail Price |
$269.00 |
| Release Date | January 2024 |
| Compatible With | Dry Herb |
| Heating Method | Hybrid |
| Vaping Style | Session |
| Body Material | Aluminum |
| Mouthpiece Material | Glass |
| Heat Up Time | 30 Seconds |
| Precise Temp Control | ✓ |
| Temperature Range | 122–428°F |
| Oven Capacity | 0.3 |
| Oven Material | Ceramic |
| Glass Compatible | ✓ |
| Battery Type | Internal |
| Sessions Per Charge | 12-15 |
| Charge Time | 1-2 Hours |
| Charger Type | USB-C |
| Passthrough Charging | ✓ |
| Display Type | OLED |
| Smartphone App | ✗ |
| Firmware Updates | ✓ |
| Adjustable Airflow | ✗ |
| Warranty | 2 Years |
Video Review
News & updates
Since the release of the Solo 2 Max in Jan 2024, there's a newly released dry herb vape from Arizer:
- The Solo 3 was launched in April 2024 as a superior replacement for the Solo 2 Max.
Related:
Overview
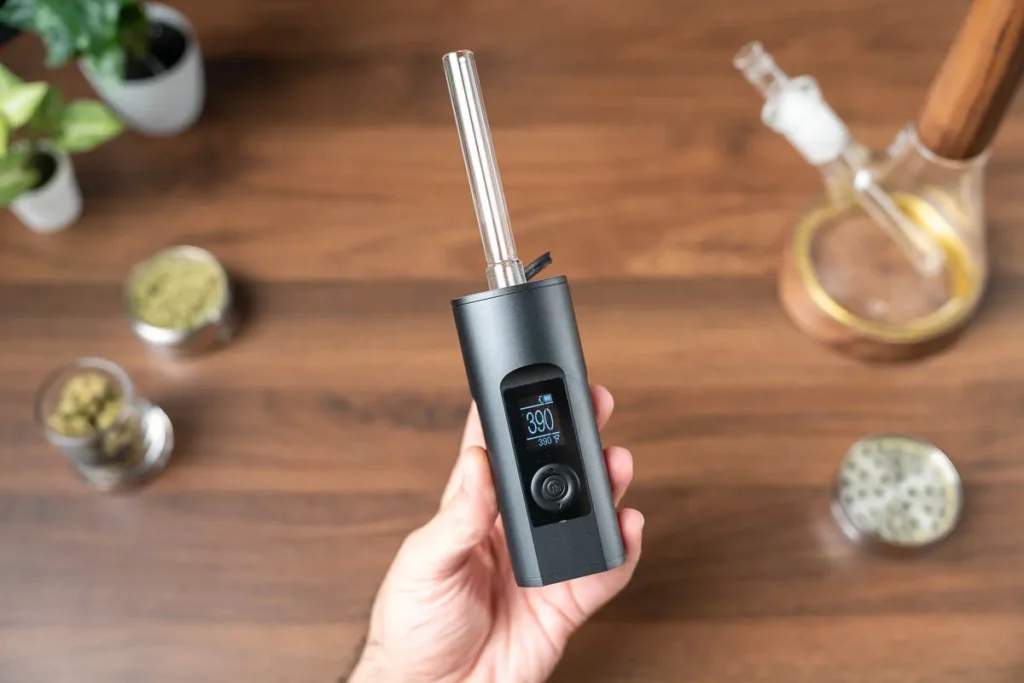
Arizer just released the Solo MAX as a 2024 refresh to their flagship portable. While there are no jaw-dropping upgrades, the Solo MAX has a few incremental improvements over its predecessor that add up to make an already excellent vaporizer even better.
It retails for $270, and you can use the coupon code TVG20 to save 20% directly from Arizer. Alternatively, code TVG10 to save 10% at vape-smart.com (ships free to the US & Canada).
In this review, I'll talk about the design, features, heating system, usage process, vapor quality, and improvements from the previous Solo 2. I'll also compare it to the Air MAX and the S&B Venty, and finally, I'll give you guys some tips to get the most out of your Solo 2 MAX or any other Arizer vape you may own.
Design & features
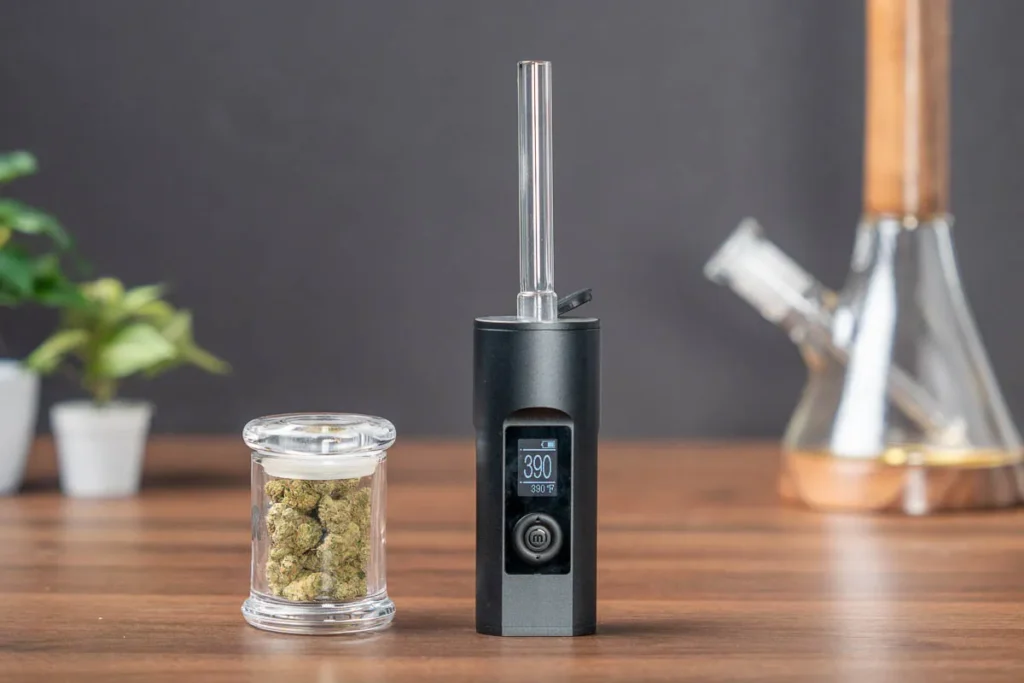
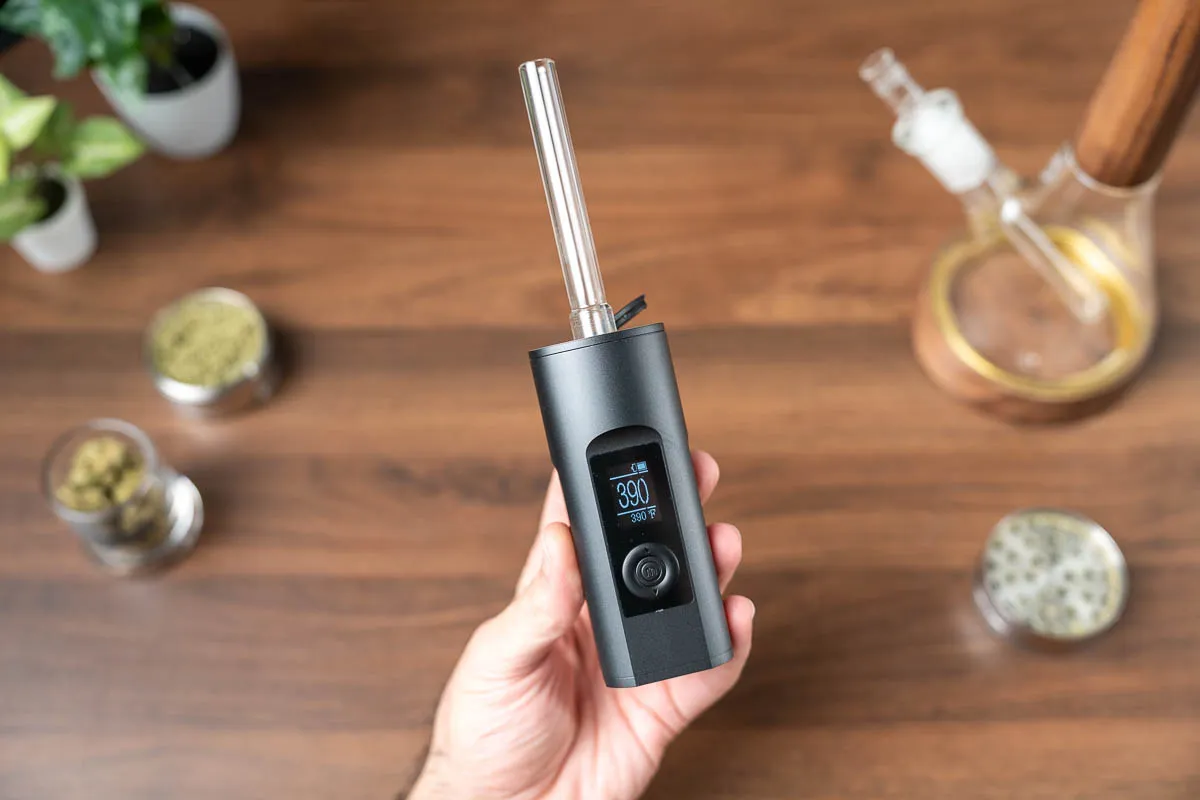
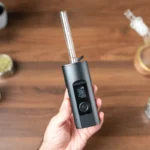
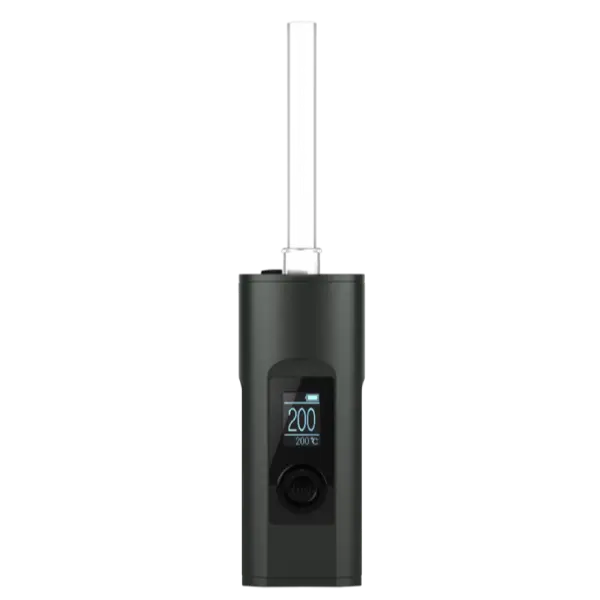
Familiar design: The Solo 2 MAX follows the same design lines as the outgoing Solo 2 and is practically identical in size and shape. The housing has a brushed finish that is fingerprint-proof and doesn't scratch easily. The buttons are firm and snappy, and the glass fits nice and snug.
It's a very solid and sturdy device that, once you hold it, you can tell that the fit and finish are top-notch. It feels very premium and well-made.
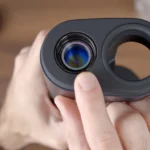
The front has an OLED display, a power button, and up/down buttons. The back has a USB-C charging port, and the heating chamber is located on top.
The Solo 2 is not the most subtle and discreet unit, especially with the stem inserted. It is large and hefty, and while it is technically portable, it is better suited for home use. It weighs 220 grams, which is almost 8 ounces. If size is a priority for you, check out my review of the Air MAX, which sacrifices some power and battery life for better portability.
How to use
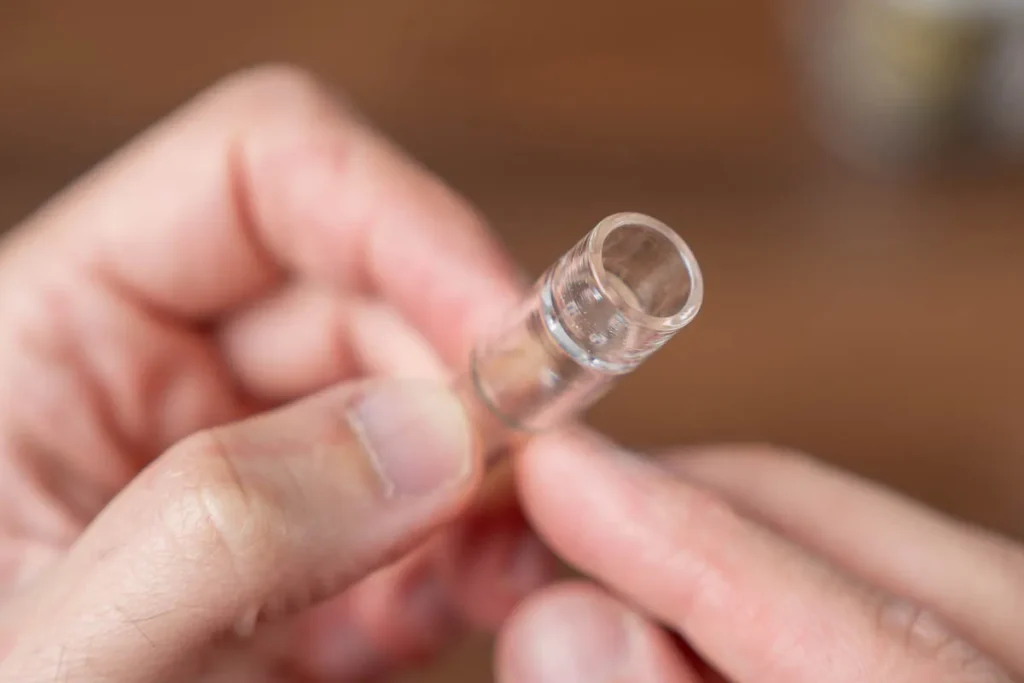
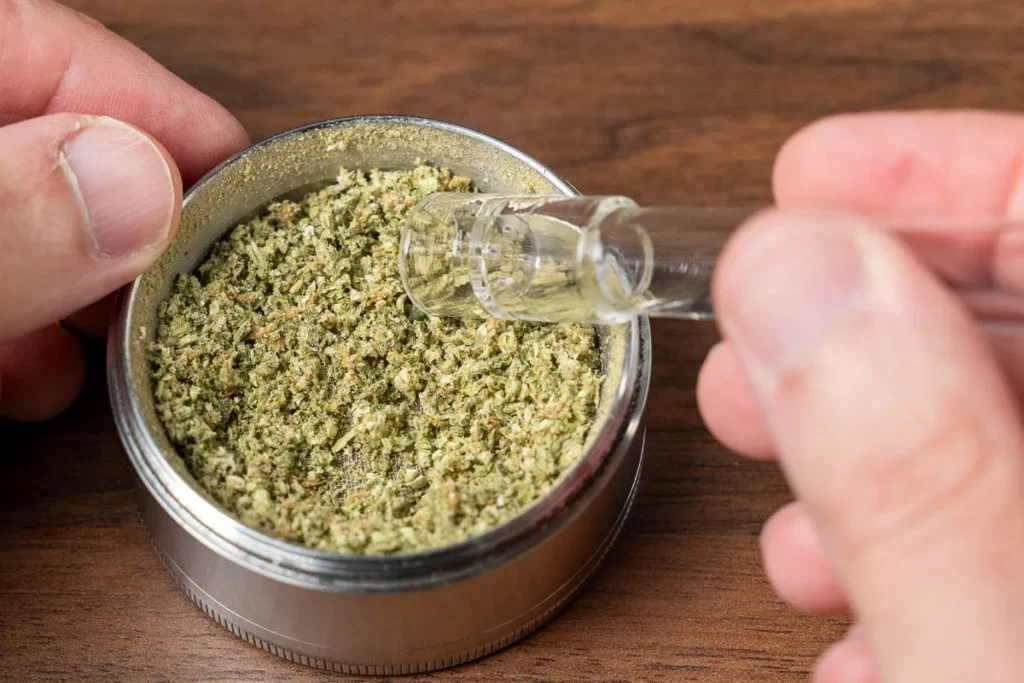
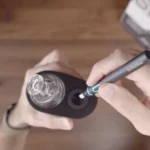
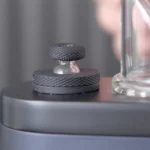
Stem screens: The Solo 2 MAX features Arizer's signature glass stem design, where the herb is loaded directly into the stem. The stem has a little glass cup with a screen that has four holes. These are pretty large, so if you use a fine grind, you may need to use the included screen to prevent small particles from getting through. If you're using a coarse grind, you should be okay without the screens.
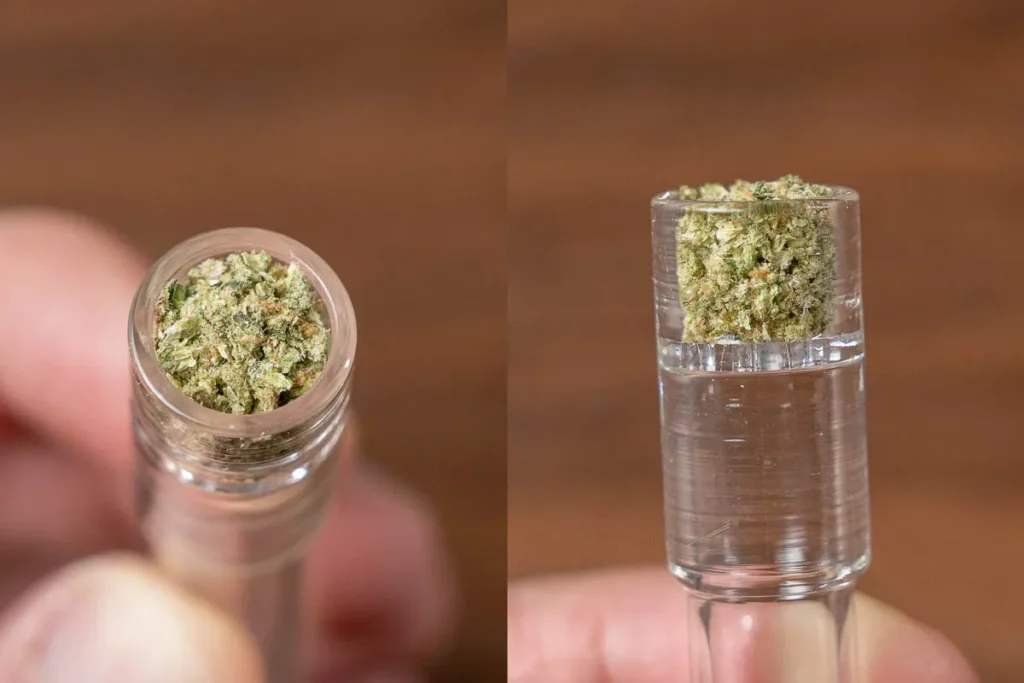
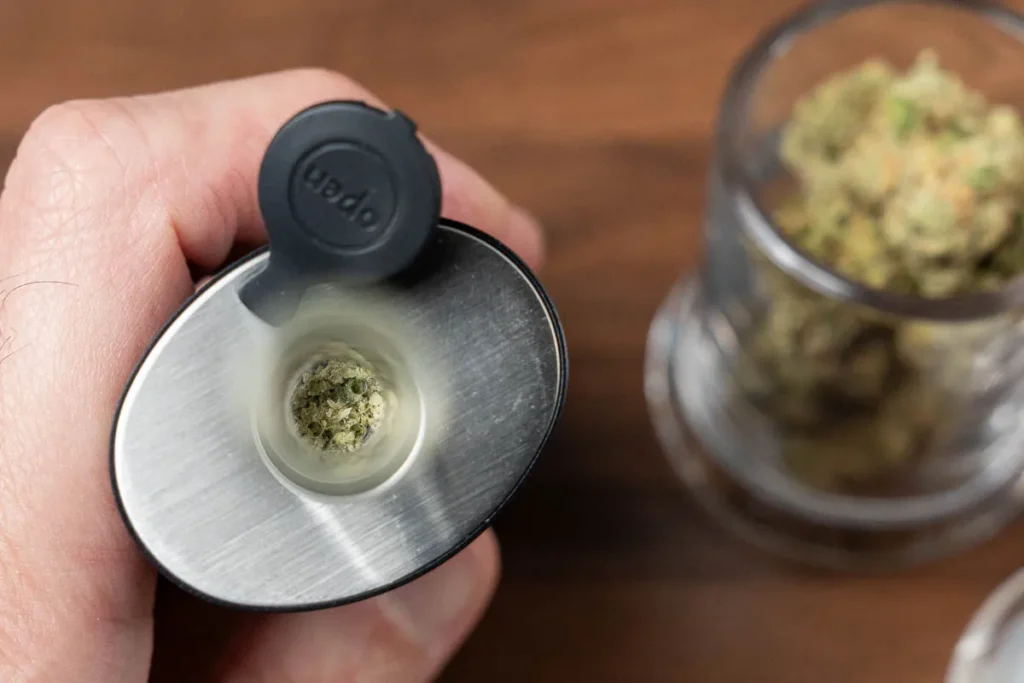
Chamber capacity: It fits around .3gr of flower and shouldn't be packed too tight. You want it tight enough so that if you wiggle the stem, nothing falls out, but not tighter than that. Keep the herb around a millimeter under the lip, and don't overfill.
Then, place the stem in the chamber and turn it on by holding the power and up buttons. Then press the up button again to start heating up.
Temp range: The temperature range is 122-428°F, so you can really get a spectrum of flavors. I like to start my sessions low at around 370°F and increase by around 10 degrees every couple of minutes to get a better extraction.
Heat-up time: It heats up in around 20 seconds and beeps when it's ready to vape.
Session vs. on-demand
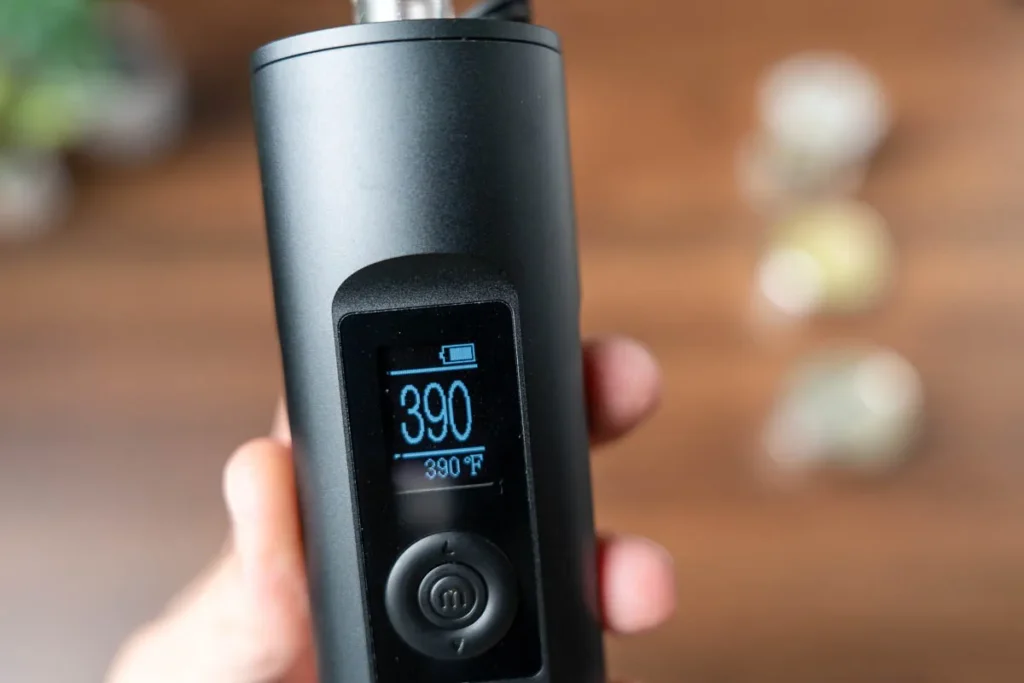
The Solo is a session vaporizer when used the traditional way. The session duration can be set anywhere between 5 and 15 minutes, with the default being 10 minutes.
This is probably a good time to explain the difference between session and on-demand vapes. I know a lot of first-time users are reading these reviews that may not be familiar with the differences.
- Session vaporizers usually use conduction or hybrid (conduction+convection) heating, and you can think of them like an oven. They take some time to pre-heat, stay on for a 4-5 minute session, and “bake” the herb. The heat is generated inside the oven, by direct contact with the oven walls. During this session, you can inhale as much as you want. You'd usually get 3-5 amazing draws, and then the vapor quality slowly degrades until the herb is cashed. At the end of the session, you have to discard the cashed herb. Even if you turn the vape off halfway through the session, the residual heat will keep baking the herb to the point that it is no longer usable.
- On-demand vapes work more like a frying pan. They heat up quickly, and once you remove it for the heat, they also cool down quickly. The heat is generated outside of the oven and is then pulled in with each inhale. And since there is no residual heat that bakes the herb between inhales, you can take a hit, leave it for a bit, and take another hit. How many hits you get from each bowl depends on your inhalation intensity and your temperature level.
Use the Solo 2 as an “on-demand” vape
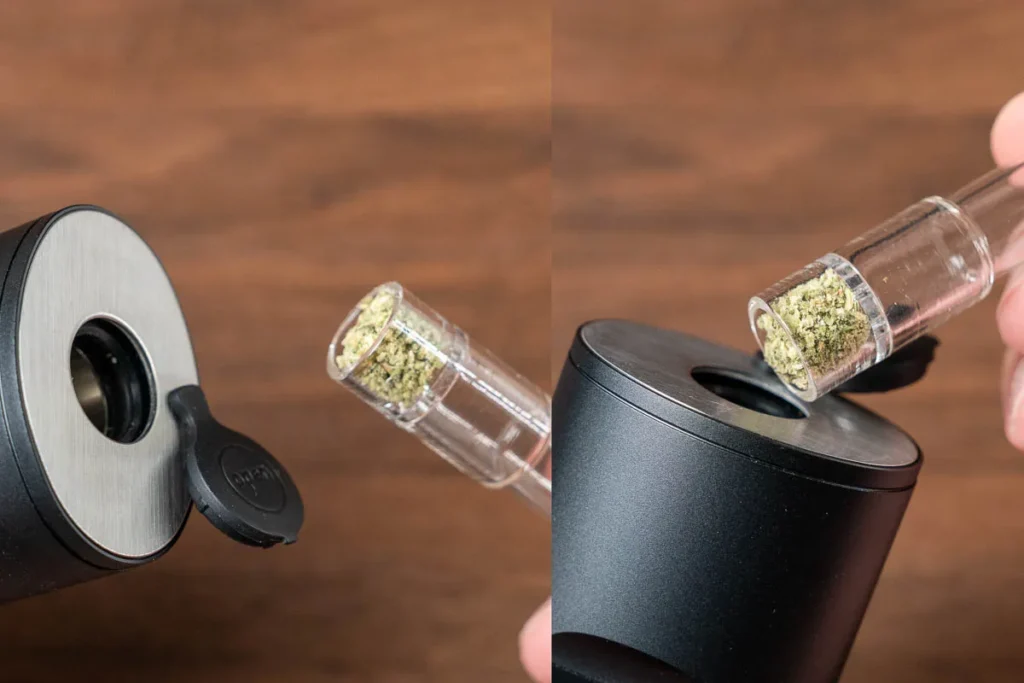
As I mentioned, the Solo MAX is a session vape that uses a hybrid convection/conduction heating system. But, I also found a non-traditional way to turn it into a pure “on-demand” vaporizer.
You can turn it on and let it heat up to temp without the stem inserted, then insert the stem when it's hot, take a hit, pull the stem out, and cover it with the silicone cap. Once you remove the stem from the chamber, you remove it from the heat source, effectively making the Solo 2 MAX a convection on-demand style vaporizer.
This method is also great if you want to microdose and have one hit at a time without wasting an entire bowl.
Glass stems- a signature design
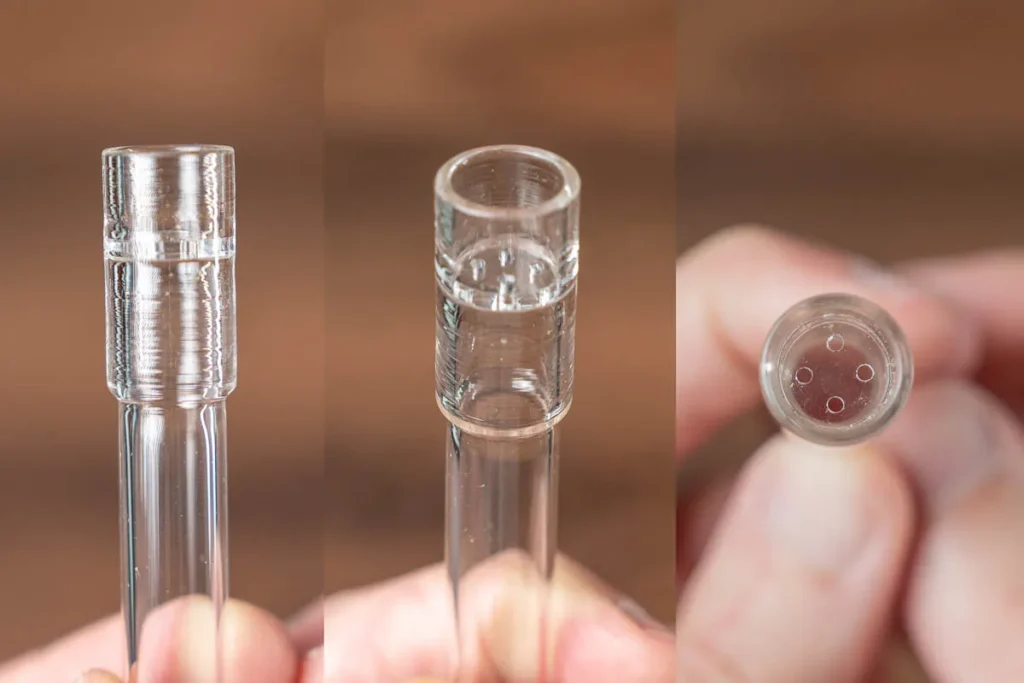
The glass stem system of Arizers vapes has a few advantages.
- The biggest one is their ease of use and low maintenance and cleaning requirements. Since the glass is the only part that touches the herb, it is also the only part to ever get dirty. A quick dip in ISO, and it's good as new.
- And since the vapor path is made only from glass, the flavor stays pure and aromatic. All Arizers are known to produce outstanding vapor quality.
- The stems can also be used as dosing capsules, and together with the caps and PVC pipes that are included in the kit, they can be taken away as ready-to-use pods, eliminating the need for a reload while on the go.
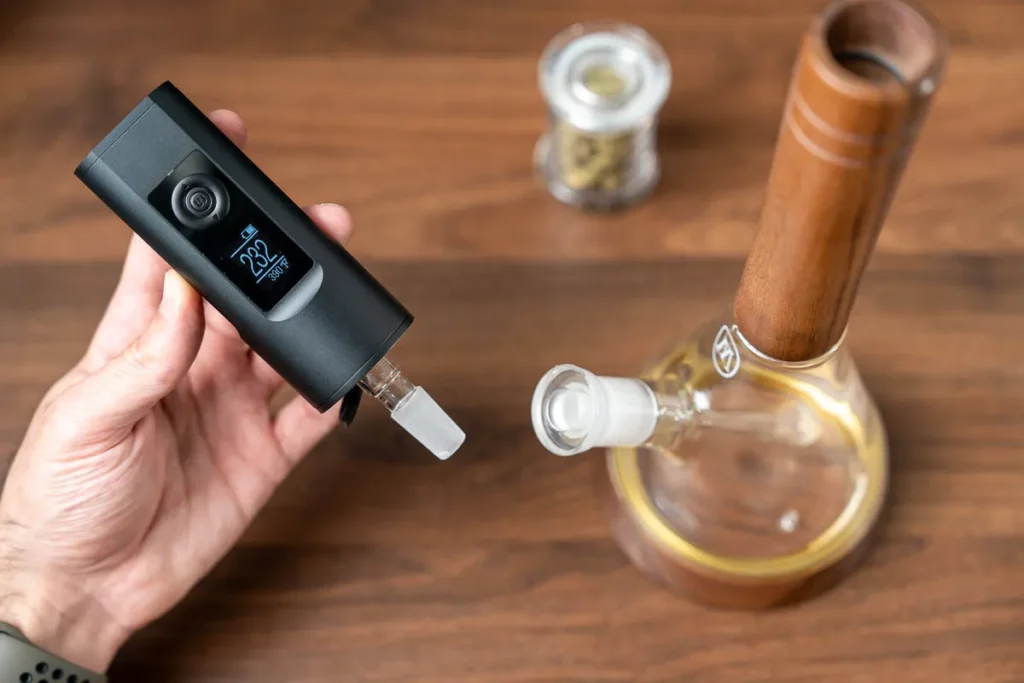
14mm Adapter
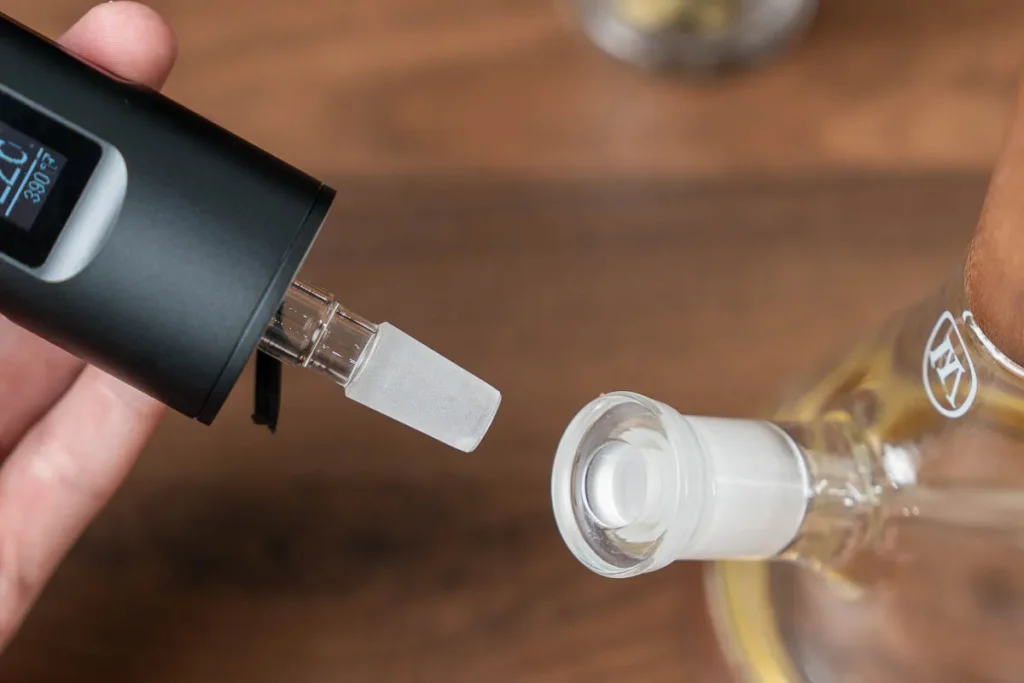
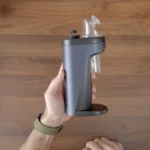
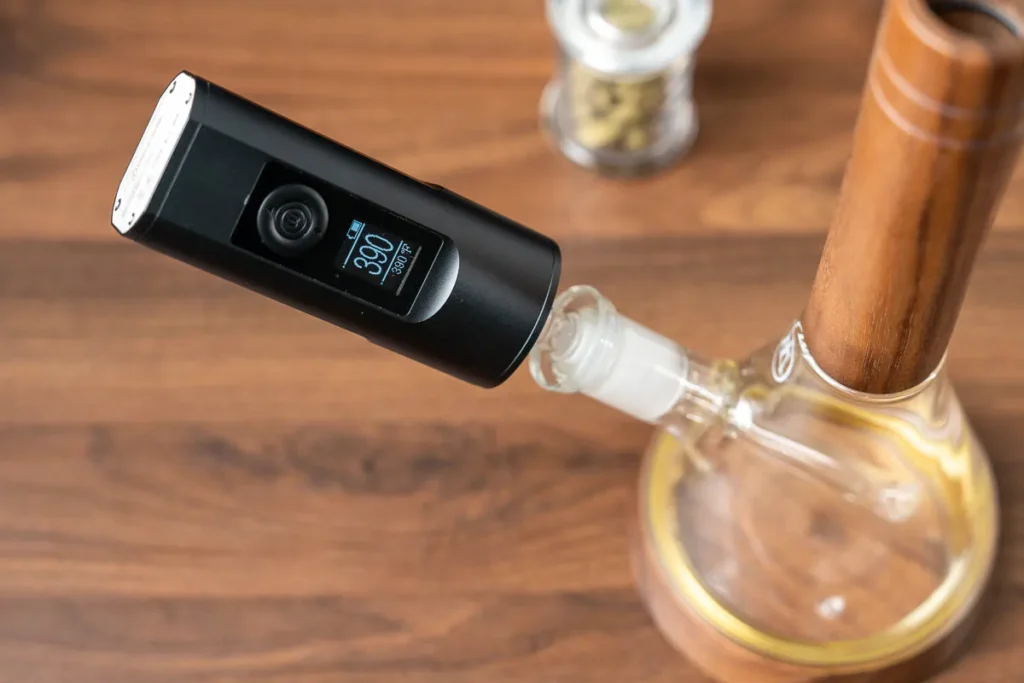
The kit also includes a frosted glass stem that looks the same on the end that sits in the chamber, but the other end is a 14mm male water pipe adapter that will allow the Solo 2 to be used with a water filter or an existing rig. The display will flip and stay upright even when the vape is inverted.
Performance & vapor quality
The Solo 2 MAX uses an improved hybrid heating system that uses mostly convection, but also conduction heat radiates through the glass into the herb that's in the chamber. It is very efficient, achieves maximum extraction, and delivers great-tasting vapor.
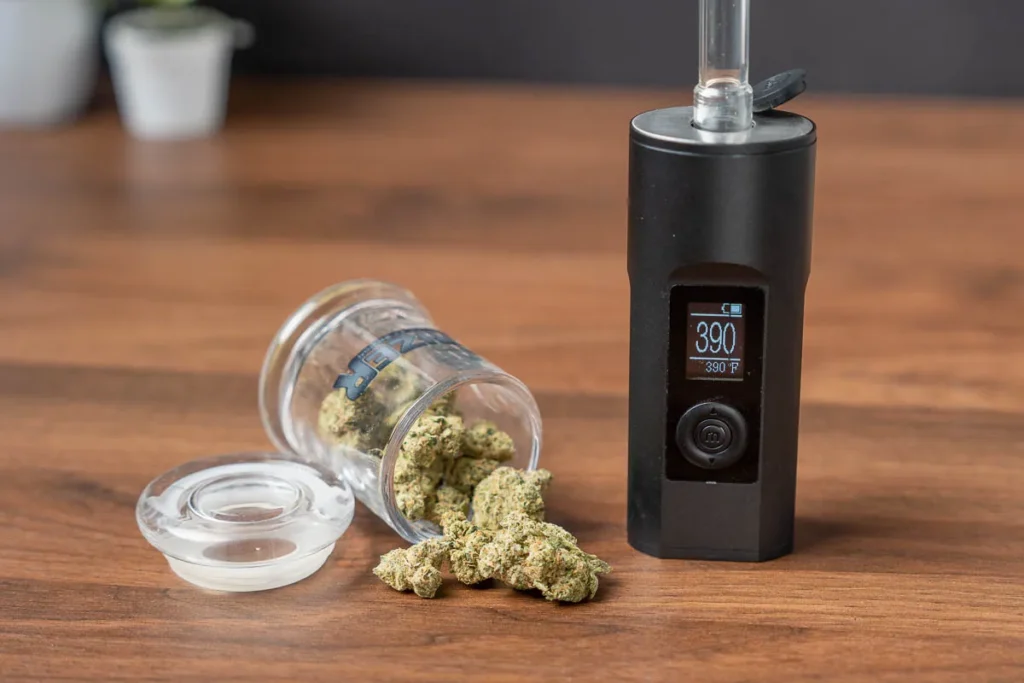
Solo 2 is king when it comes to battery life: I've been averaging over two and a half hours of use per charge. That's around 15-20 sessions per charge, which is more than basically any other portable you'd find.
Solo 2 MAX vs. other vaporizers
Solo 2 MAX vs. Solo 2
I think it makes sense to compare the Solo 2 MAX to three vapes- the outgoing Solo 2, the Air MAX, and the new Venty by Stroz & Bickel. Here is a quick rundown of the similarities and differences between these vapes.
I have a full post comparing the Solo 2 and Solo 2 MAX, but here are the most significant improvements over the outgoing Solo 2:
- The proprietary DC charger plug has been updated to a USB-C, and this alone improved the usability of this vape by an order of magnitude. USB-C is very common these days, and most likely, you have one within arms' reach right now.
- There are also minor interface updates, such as dark mode or the rotating display.
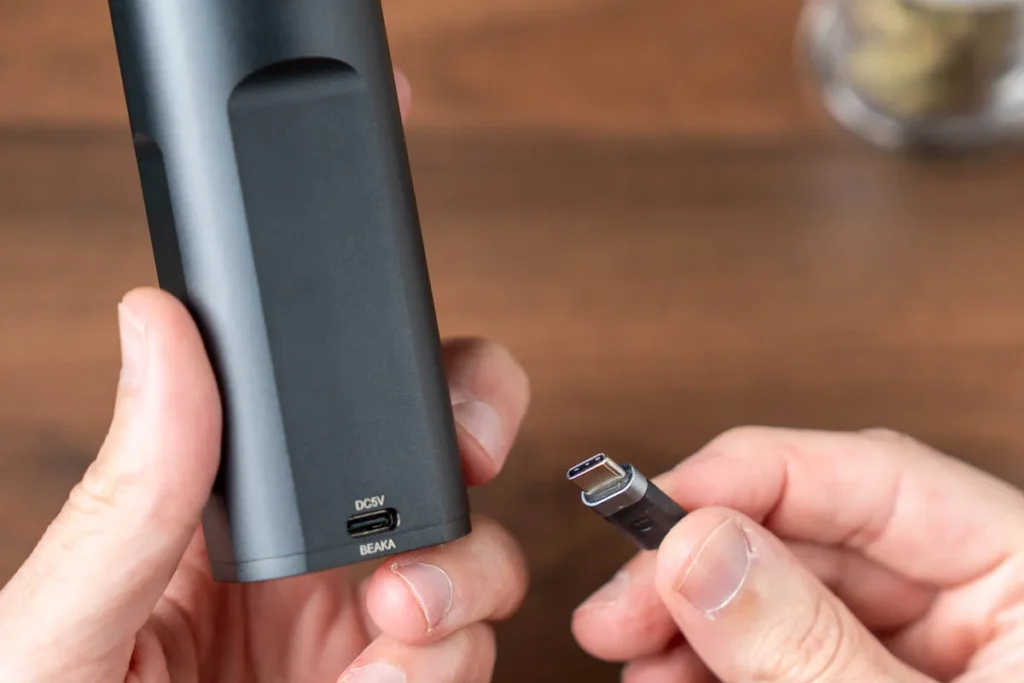
Should you upgrade from Solo 2? If you already own a Solo 2 that works great and has no issues, there is no need to upgrade. If you were on the fence about getting one, this is the best time to pull the trigger. Use my coupon codes above- I have a 20% coupon, so that's over $50 in savings directly from Arizer.
Solo 2 MAX vs. Air MAX:
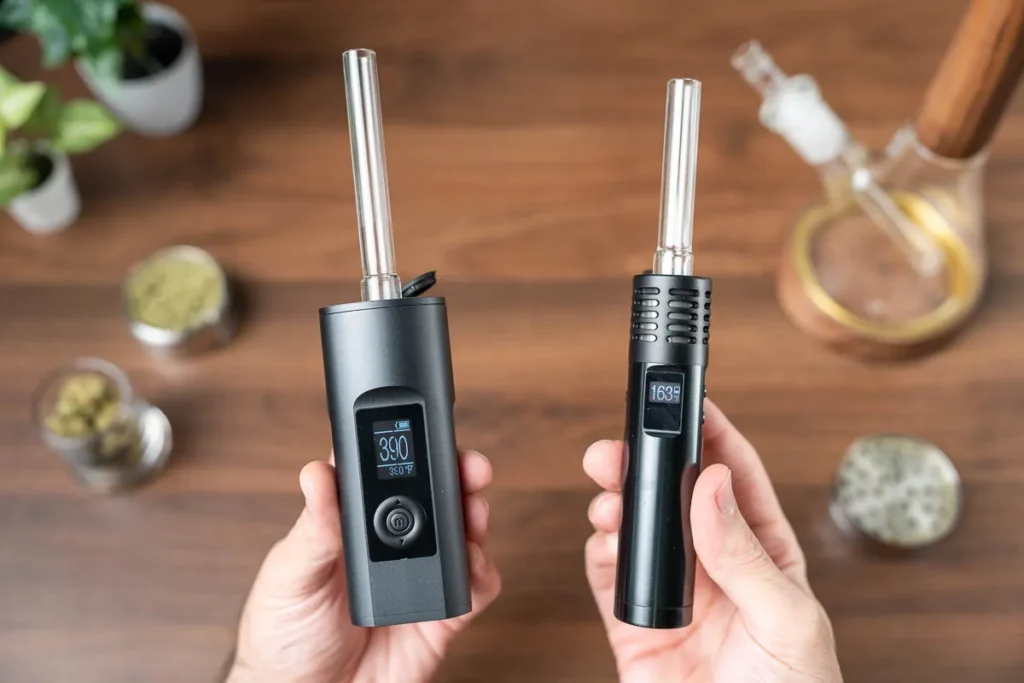
I also have a full post comparing the Air MAX to the Solo MAX, but here are the most significant differences:
- The Solo 2 Max is slightly larger and heavier than the Air MAX.
- The Battery of the Solo 2 MAX is more powerful and long-lasting. Around 120 minutes on the Air MAX and 170 minutes on the Solo 2 MAX.
- The Solo 2 MAX heats up almost twice as fast.
- The Air MAX has a smaller display, and a replaceable battery.
- Solo MAX retails for $270, Air MAX for $220.
- Both vapes have the same: oven size, temp range & control, hybrid heating system, and a similar interface. The stems are cross-compatible between the Old Solo, New Solo, and the Air MAX.
Solo 2 MAX vs. S&B Venty
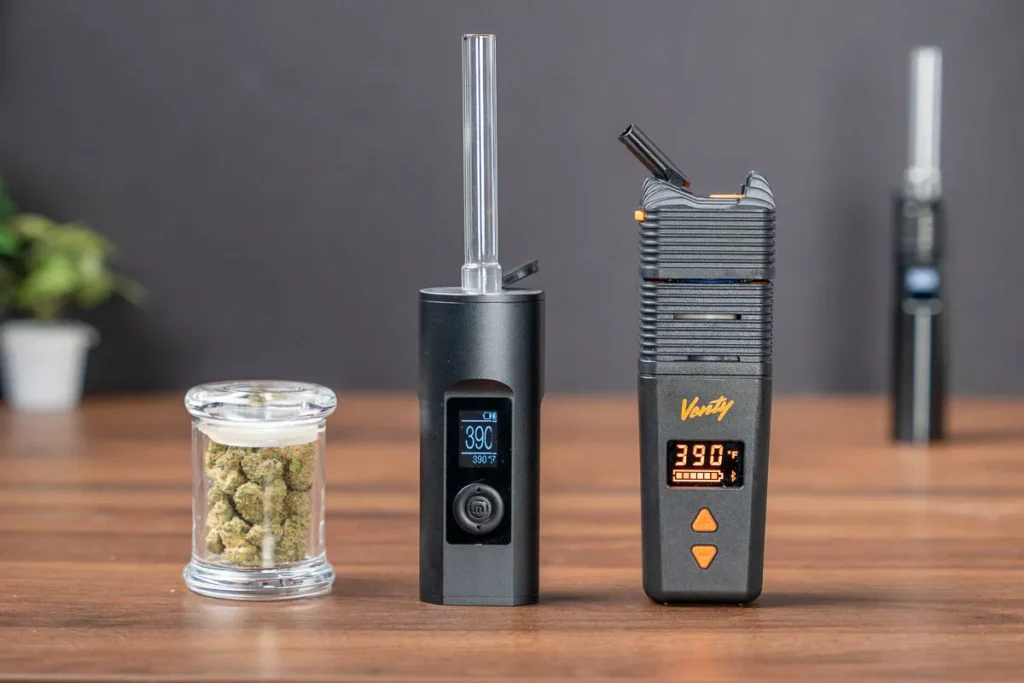
As far as non-Arizer vapes, I think the closest comparable is the new S&B Venty. Both vapes are pretty large, and I consider them to be “home portables.”
- Both vapes use a hybrid heating system that is very efficient and archives maximal extraction.
- The Venty has a slightly larger oven and is a “heavier hitter.” It produces slightly more vapor which also comes faster and thicker. The Solo 2 will make your herb stretch longer.
- The Venty also has an adjustable airflow, so it is more flexible when it comes to inhalation technique. You can inhale short and short and fast vs. long and slow with the Solo 2 MAX.
- Lastly, the Venty retails for $420, while the Solo 2 MAX is $270.
And just a reminder- I have coupon codes for all these vaporizers on the review pages.
Bottom line
The Solo 2 MAX continues Arizer's legacy and is easily one of the best dry herb vaporizers you can buy in [year]. It keeps the same simple and functional design but features incremental upgrades that make it a better unit. There are no game-changing features, as the Solo 2 didn't need them. It is a straightforward vaporizer that has been time-tested and proven to be a winner. I personally know people who still use the original unit and love it.
The Solo 2 MAX has the easiest and fastest loading procedure out there, and the results are predictable and consistent. The Solo 2 MAX is a great choice for beginners or pros alike, as long as you don't mind the size. It compensates for the lack of portability with long battery life and delicious vapor.
Tips for best use
Here are some tips that will help you make the most of your Solo 2 MAX or any other Arizer vape:
- Perfect your inhalation technique. As I mentioned, I recommend taking long, slow inhales from the Solo MAX. “Sip, don't rip” definitely applies here, and you should experiment to find the intensity that works best. Another reason to inhale slowly is that fewer particles will get sucked in, especially if you're not using the screen, which I don't.
- If you're looking to get the best flavor, start inhaling while the vaporizer is pre-heating. Different terpenes evaporate at different temperatures, so inhaling while it's heating up will unlock amazing flavors and aromas. Keep in mind that not a lot of vapor will be produced at this stage.
- If you're basically the opposite person of what I just described, and you want full, potent, dense hits from the first inhale, let the vape sit for an additional 10-30 seconds after it reaches the set temperature. This will allow heat to build up in the chamber and heat up the flower for a fuller, denser hit.
- Empty your chamber immediately after finishing a session. Use a brush to remove any small particles that may block the holes of the glass and reduce airflow. Letting the cashed herb stay in the oven will make it stick to the glass and get it dirty a lot faster.