
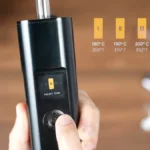
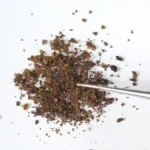
I’ve been using the Solo 3 for a few weeks now, and it is easily my top used portable. While it is super simple to load, use, and clean, there are some nuances that will make you get the most out of the Solo 3 or any Arizer vape you may be using, especially if you’re a new user. In this article, I’ll break them down for you.
Related: Best Dry Herb Vaporizer of [year]
Related Posts
- Solo 3 Review
- Solo 3 VS Solo 2 comparison
- Solo 3 VS Venty comparison
- Solo 3 VS Tinymight 2 comparison
Tip #1
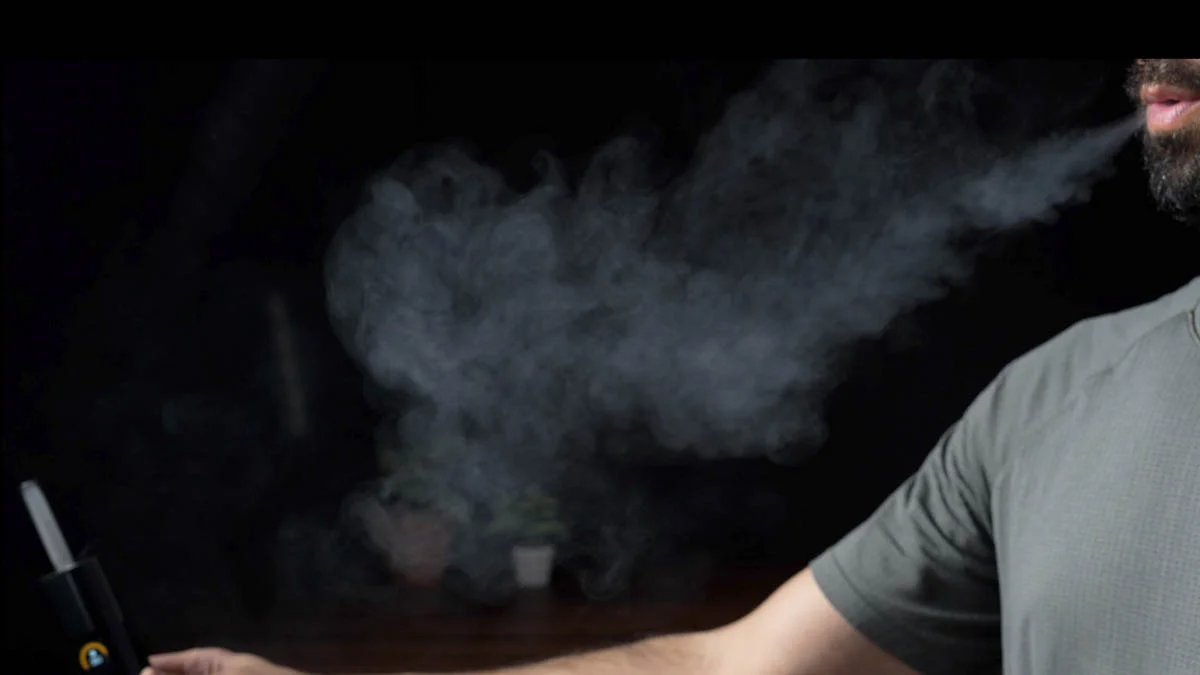
Perfect your inhalation technique. I recommend taking long, slow inhales. An often-used phrase is “Sip, don't rip.” You should experiment to find the draw speed and intensity that feels the most natural.
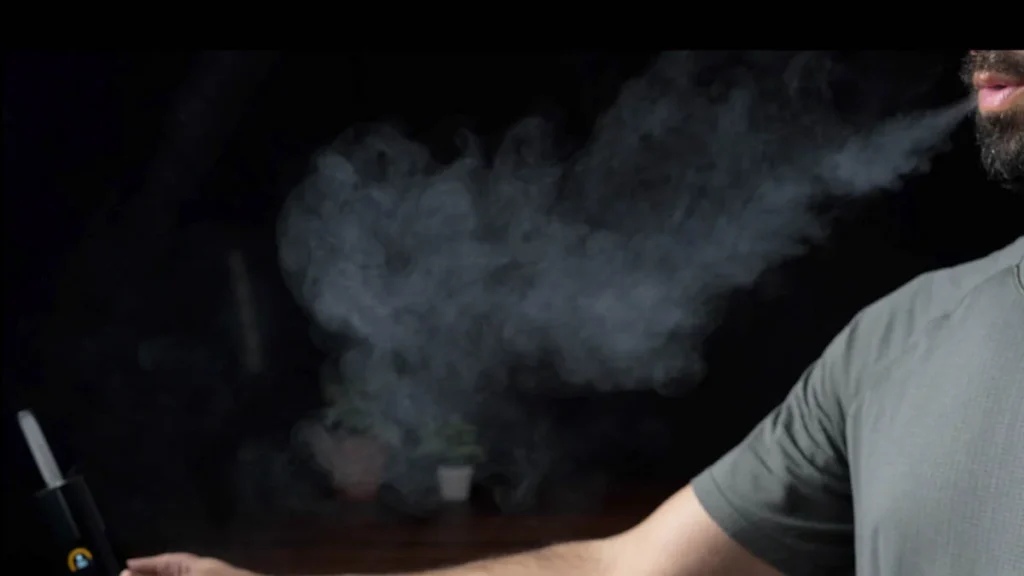
Another reason to inhale slowly is that fewer particles will get sucked into the stem, especially if you're not using the screens. Which I don't.
Tip #2
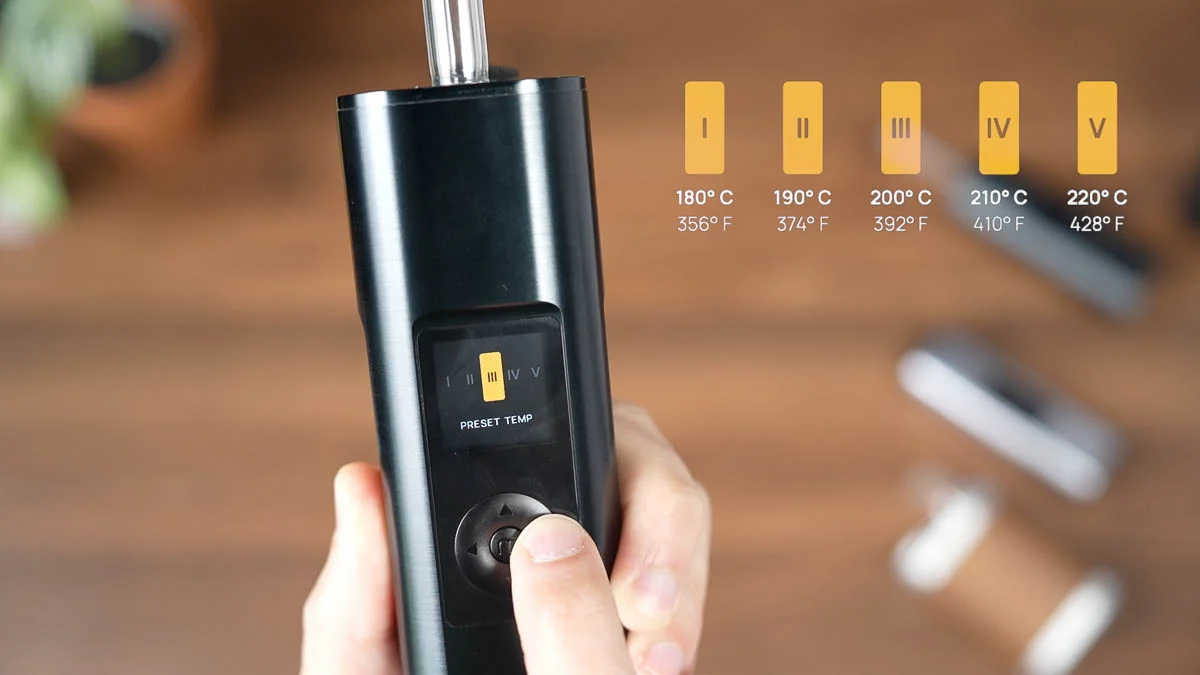
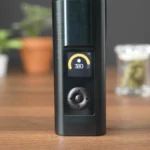
If you're looking to get the best flavor, start inhaling while the vaporizer is pre-heating. Different terpenes vaporize at different temperatures, so inhaling while it's heating up will unlock amazing flavors and aromas.
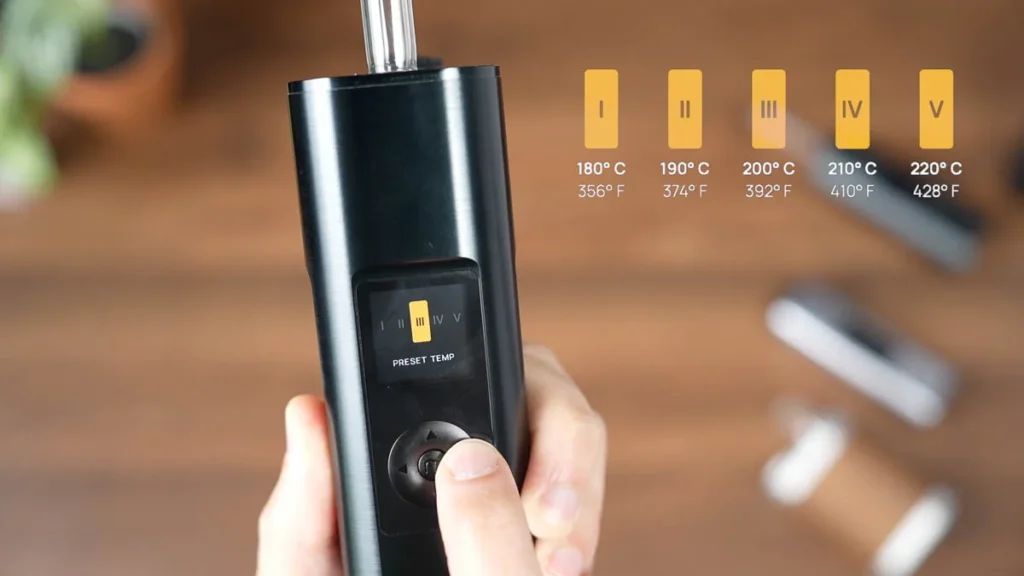
This can be done in both modes, but it works better in session mode. Sometimes, I'll turn it on and start inhaling slowly right away to get this fresh aroma as the herb is heating up. Just keep in mind that not a lot of vapor will be produced at this stage. Also, it may extend the warmup time as you are pulling the heat out of the chamber, so it takes more time to get to the set temp.
Tip #3
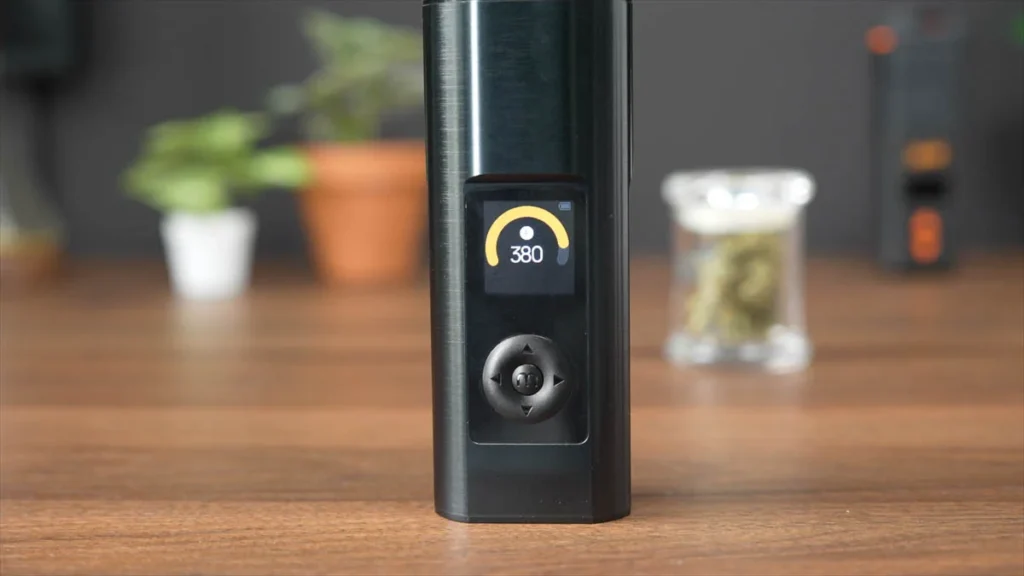
If you want full, potent, dense hits from the first inhale, let the vape sit for an additional 10-20 seconds after it reaches the set temperature. This allows heat to build up in the chamber and “cook up” the flower for a fuller, denser hit. This is only applicable to session mode, as heat is only applied during inhalation when using on-demand mode.
Tip #4
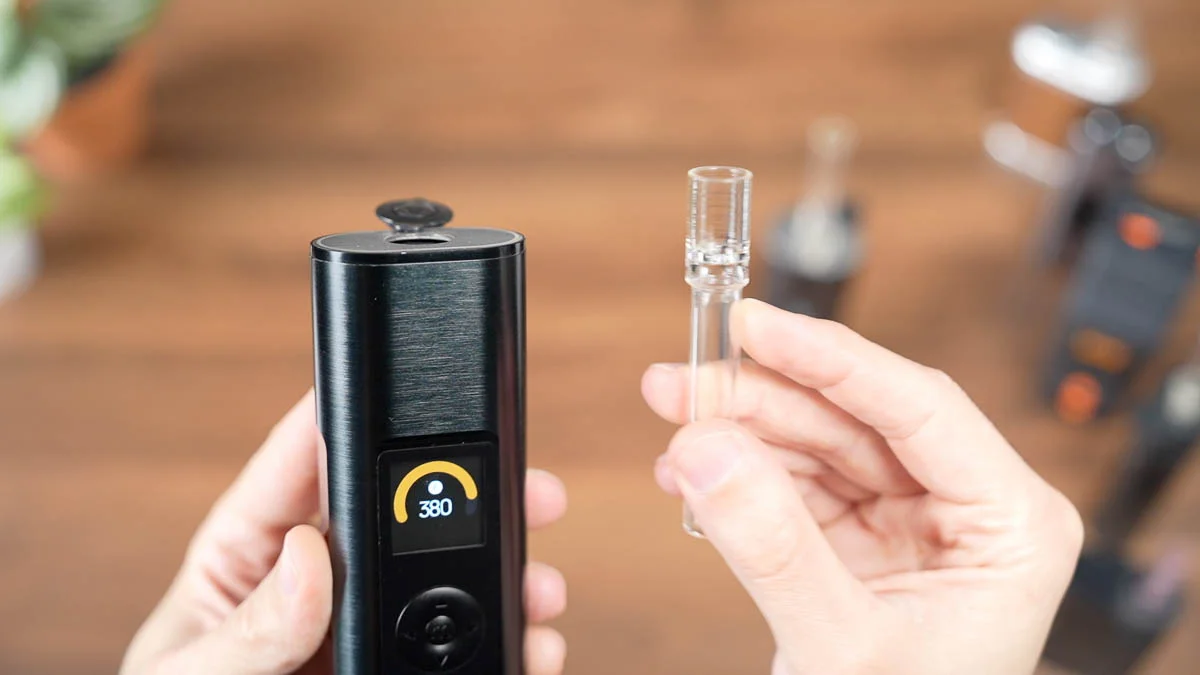
Load properly. The Solo 3 uses a hybrid heating system with 80% convection and 20% conduction. Convection heat works by heating up the herb with hot air. So, when you load the stem, you need to leave some room in between the flower particles for hot air to flow through and extract the vapor.
Related: Session (conduction) vs. On-demand (convection) vaporizers
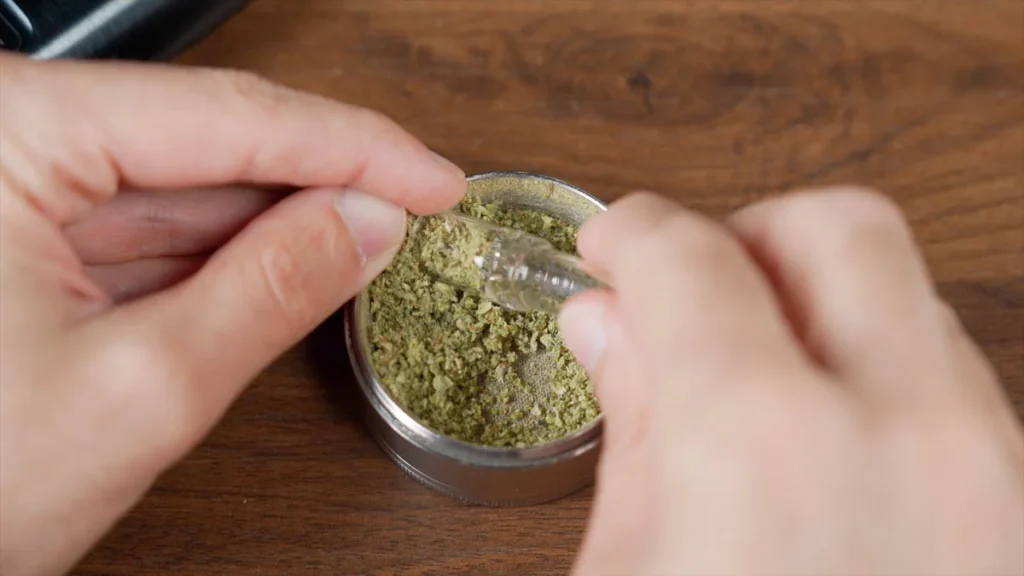
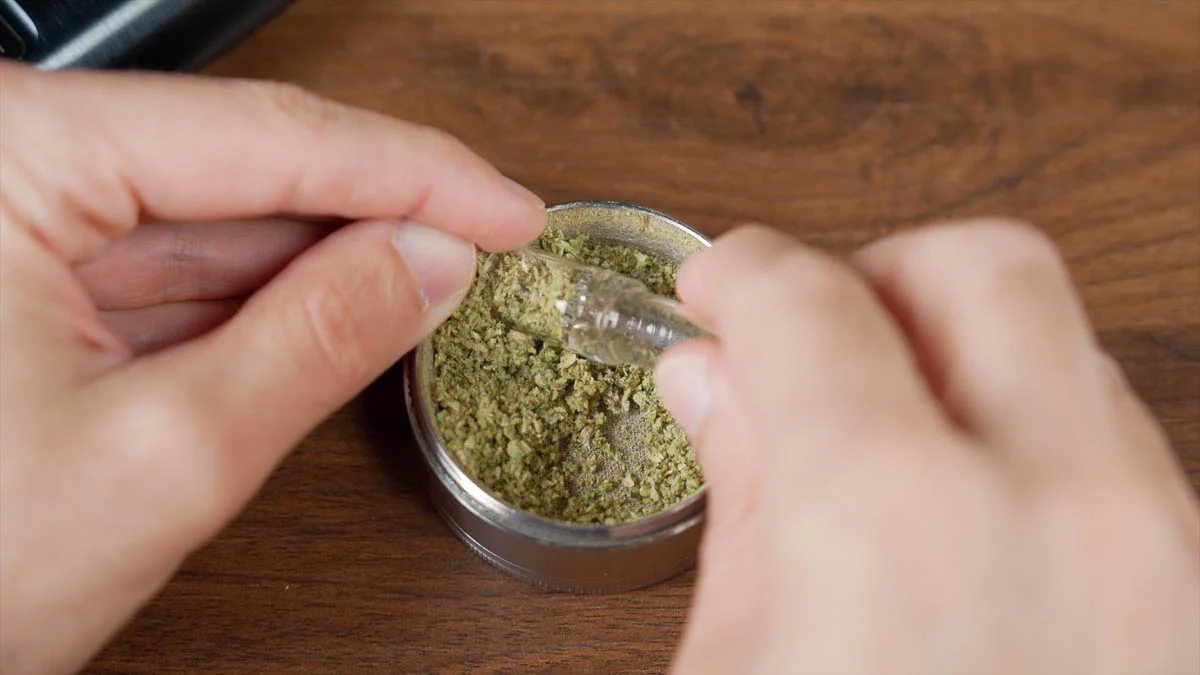
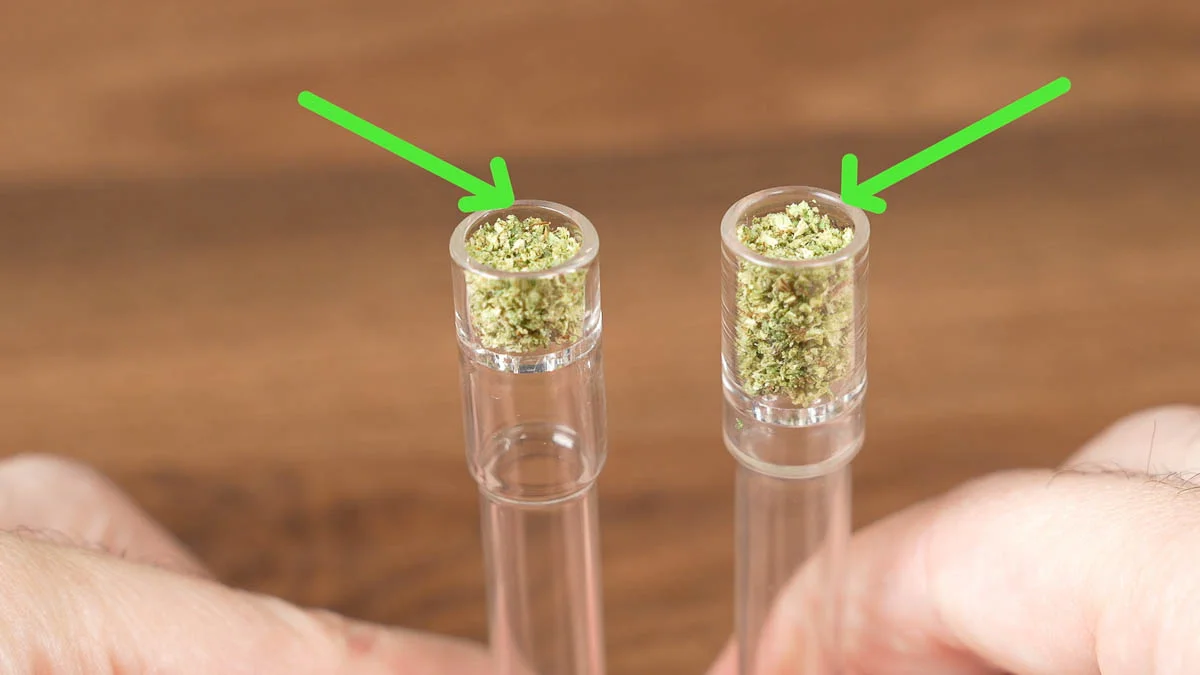
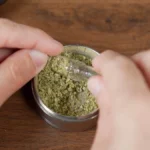
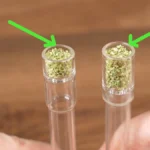
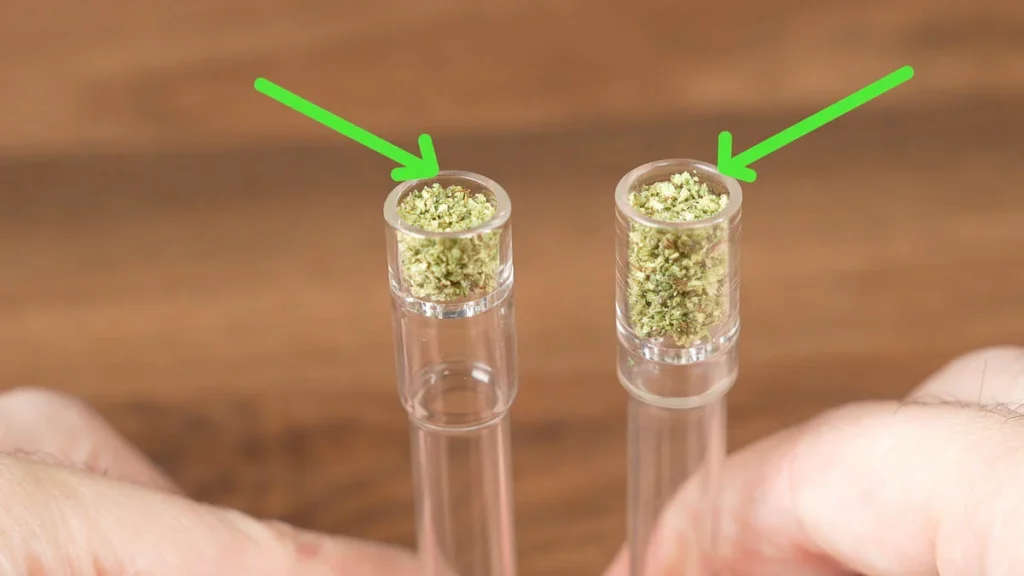
I just dip it in a jar, or load directly from the grinder. I found that the best way to load it is to scoop a cup full of herb, and then tamp it down with your finger and give it a half a turn. It gets packed enough so if you flip the stem nothing falls out, but air can still travel freely without obstration.
The herb should be 1-2mm under the lip so it doesn't touch the heating element when the stem is inserted.
Tip #5
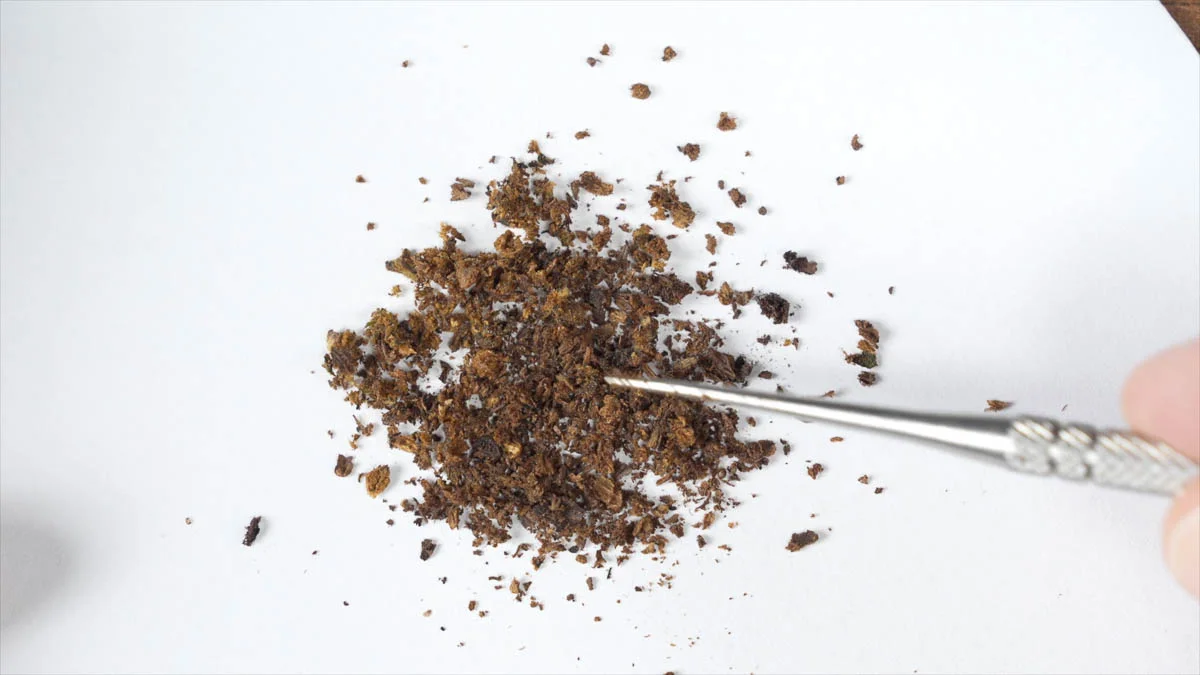
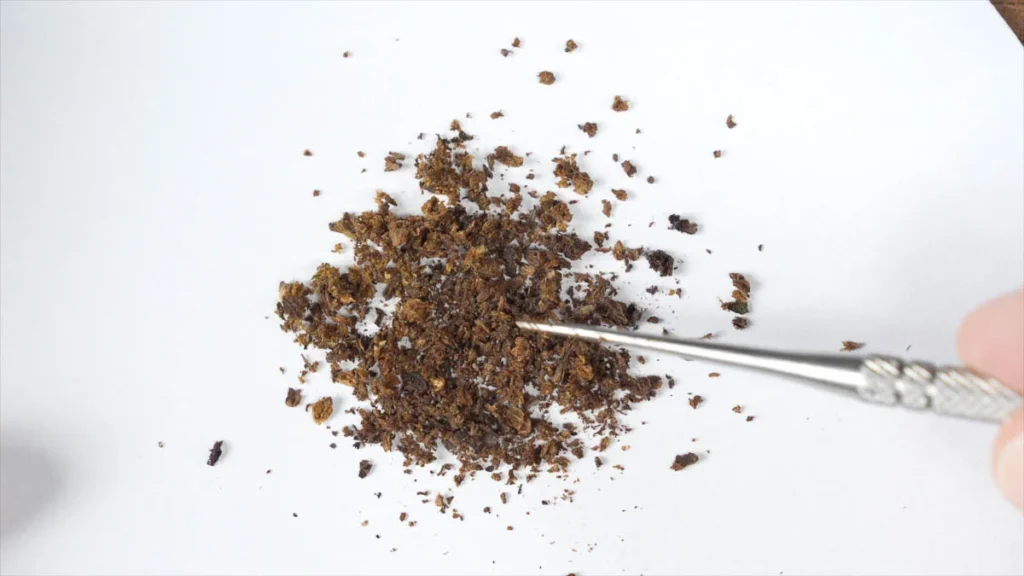
Empty the glass stem immediately after finishing a session. Don't let cashed herb cool off in the stem. It'll get sticky and be harder to remove. It's handy to keep around an oven tool and gently empty out the cashed herb while it's still hot. Use a brush to remove any small particles that may block the holes in the glass and reduce the airflow.
Related: When to Replace Herb in Vaporizer Oven?
Final word
That pretty much wraps it. If you have any other tips that I didn't mention, I'd love to hear them below. If you're looking for a new vape, check out my top-rated dry herb vaporizers here.