

Using a dry herb vaporizer correctly can dramatically improve sessions, save you weed, and will ensure the longevity of your vape. This guide explains how to use a dry herb vaporizer, from preparing your herbs to cleaning your vape. By the time you’re done, you’ll go from a vaping newbie to a vaping expert. At least where knowledge is concerned, you still have to learn the practical aspects yourself, but at least you’ll be ready. So, enough of the intro, it’s time to get started.
Related: Best dry herb vaporizers of [year]
Charge It Up
Most vapes will include a USB cable in their kit, so if you want to charge your vape as quickly as possible, attach the USB cable to a wall adapter if possible, and plug it in. Larger vapes, such as the Mighty Plus (Review | Buy) and Solo 2 (Review | Buy), use a proprietary charger.
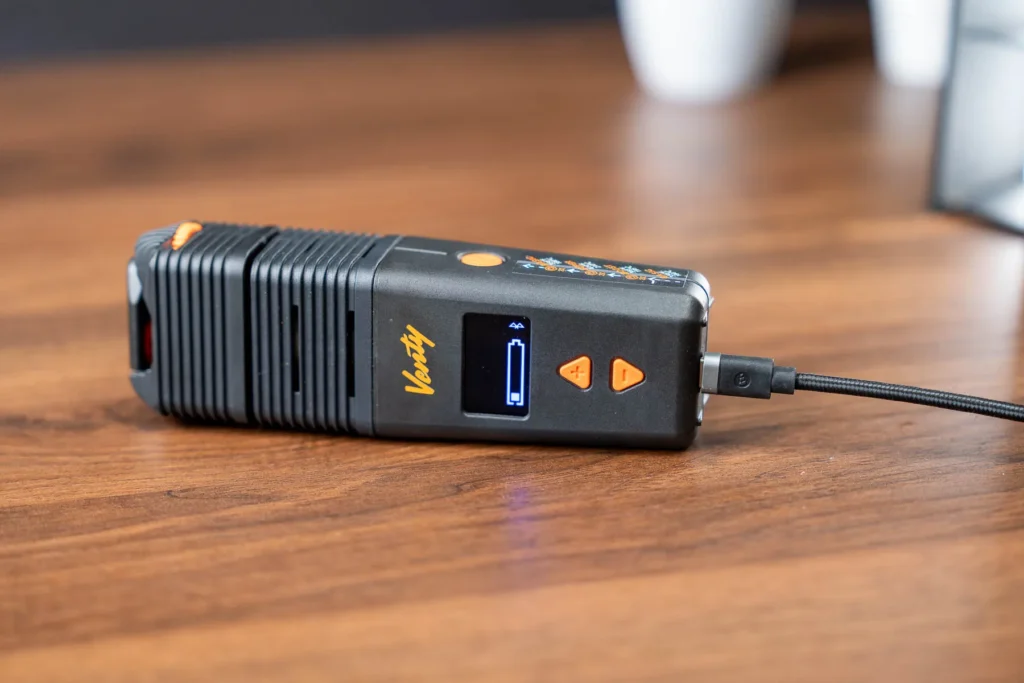
Some vaporizers use a removable battery or batteries, and if that is the case, then there might be different charging methods used. Typically the battery can be charged separately in a charger, or while it is still inside the vaporizer. If you have a removable battery. You might also consider investing in extra batteries as well since that means you will always have a fresh battery ready when one runs out. Weed vapes typically use 18650 batteries (view on Amazon), but a few, like the DaVinci Miqro C, use 18350 batteries instead.
(TIP) Plan Your Sessions
A session is the amount of time that you vape the herb in the oven. You need to vape all the herb in the oven during that session because attempting to use one oven over multiple sessions will not work. That is because, even after you power down the vaporizer, the oven will retain some heat and continue heating the herb and possibly burn it. Reheating the herb inside the chamber makes that even worse, which means that you could end up with ashy tasting herb. So if you want to avoid that—and you do, then make sure to vape all of the herb in your oven during your session.
Read the Manual
The majority of dry herb vaporizers are very easy to use but that doesn’t mean that you can just start using them blindly. You need to check the instruction manual first and foremost so that you are familiar with how your weed vape operates.
(TIP) The Burnoff
This step is optional, but some vapers like to perform a burnoff session. This means turning on the vape for a full session (highest temperature, empty oven), to clean any bits of residue that may have fallen into its oven during manufacturing or storage.
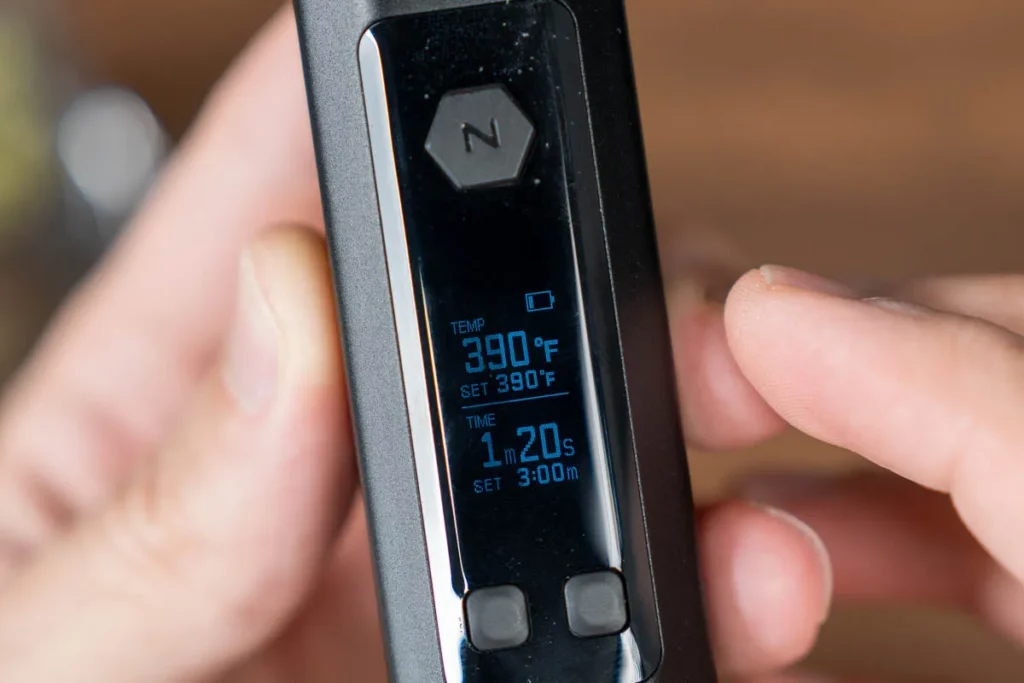
To perform a burnoff session:
- Make sure that the oven of your vaporizer is empty.
- Turn on your vaporizer.
- Set it to the highest temperature.
- Let it continue heating for five to ten minutes.
- Of course, you should not be inhaling from the vaporizer while this process is going on.
Grind up your Herb
The next, and quite possibly the most important, step is to grind your herb. Vaporizers don’t work well with big chunks of weed in their chambers, they need to have finely ground herb in order to perform at their peak.
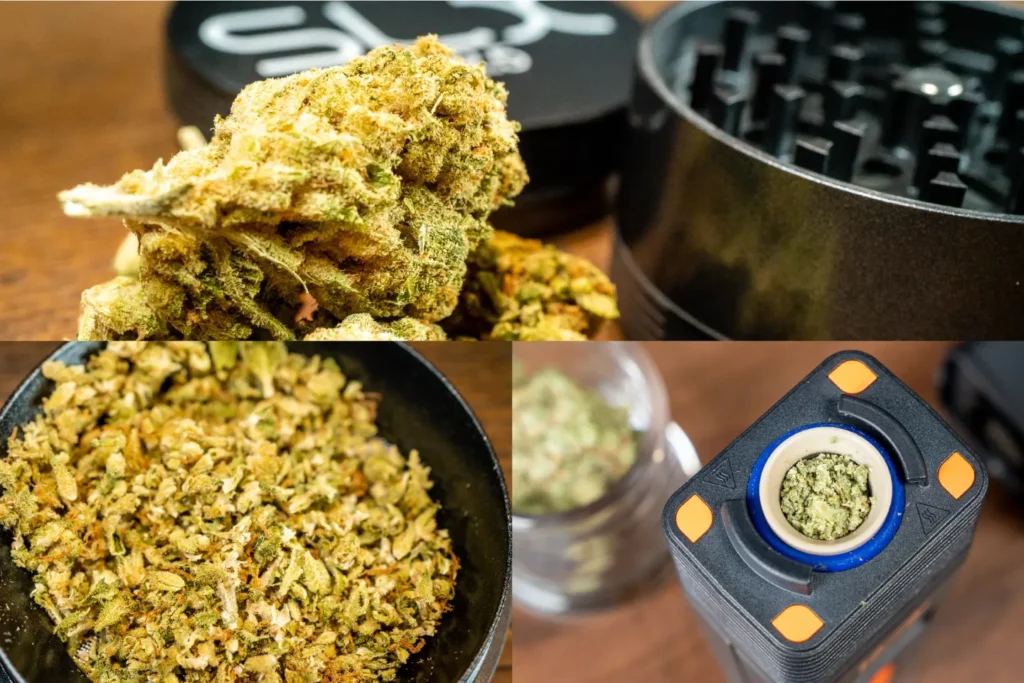
The reason is that finely ground herb has a larger surface area, which allows it to be heated more evenly. That way you will get all of the flavor, terpenes, and all the other good stuff from your weed in the vapor.
(TIP) Use a good grinder
A grinder is what you need to get the herb to the perfect vaporizer-friendly consistency. They are available in manual and electric options, each of which has its pros and cons. The SLX Grinder (Review | Buy) is one of the best manual grinders [year] available, and it is highly recommended for first-time vapers.
Load the Oven / Herb Chamber
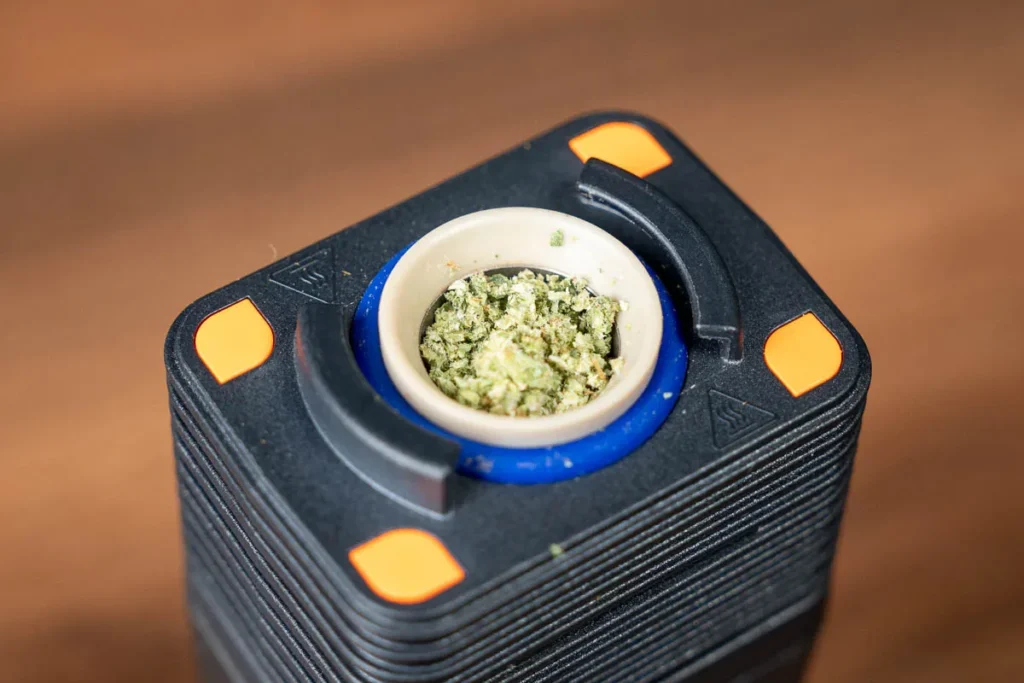
This is where your herb gets vaporized. Once your herb is nice and fluffy, it is time to put it in the herb chamber. You should follow the packing instructions from your vaporizer’s manual when loading up the chamber. However, regardless of what type of vaporizer you are using, you don’t want to overpack the chamber. That is because doing so could cause problems that affect the vaping experience.
An overpacked chamber could prevent all of the herb from getting vaped evenly, resulting in inconsistent flavor. Air will also have trouble passing through a chamber that has been packed too tightly, which will result in uneven heating and an inferior vaping experience. Also, if the oven is located beneath the mouthpiece, then overpacking it could restrict the airflow and make inhaling the vapor more difficult.
A perfect oven is full and fluffy, where air can easily travel between the herbs.
Related: How to get more vapor from your weed vape?
(TIP) Don't overpack the chamber
This has been mentioned before but it’s worth repeating. An overpacked can cause poor airflow, uneven vaping, and the clouds won’t be as big. So be a good vaper and pack just the right amount of herb into the oven. If the amount the chamber holds isn’t enough for you, then just plan a second session. Overpacking the chamber is simply a bad waste of good herb.
Set the Temperature
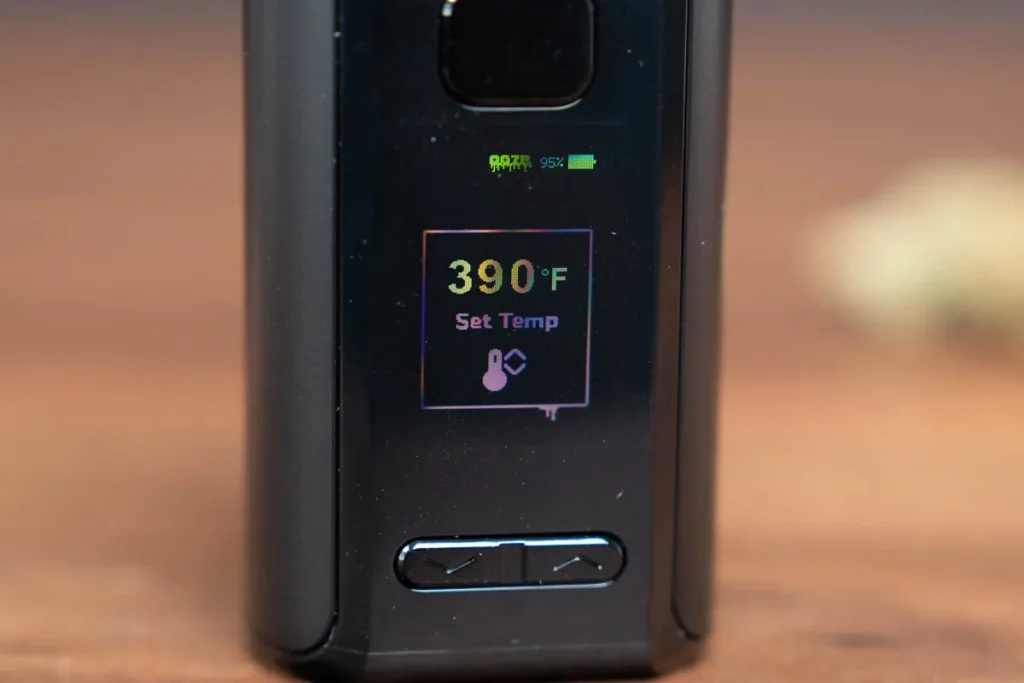
After turning on your vaporizer, you need to set the vaping temperature. Some vapes such as the KandyPens K-Vape (Review | Buy) have a set of preset temperatures, while others such as the Mighty Plus (Review | Buy) have precise temperature control, which allows you to set any temperature along the vaporizer’s temperature range. You will eventually find the temperature that suits you best, but it is advised that you start out low temperature and then gradually work your way up as you get more comfortable with vaping.
My favorite temperature, and the ideal temperature for most vapers, is in the 380°F and 390°F range. That is the sweet spot between flavor and vapor production for most people.
(TIP) Start low and increase
A low temperature in dry herb vaping is somewhere between 350°F and 370°F. At lower temperatures, you tend to get more flavor and less dense vapor. Higher temperatures provide the opposite, you get thicker vapor and less flavor. Slowly ramp up the temperature at each new session until you find the setting or range that gives you the best flavor.
Inhale the Vapor
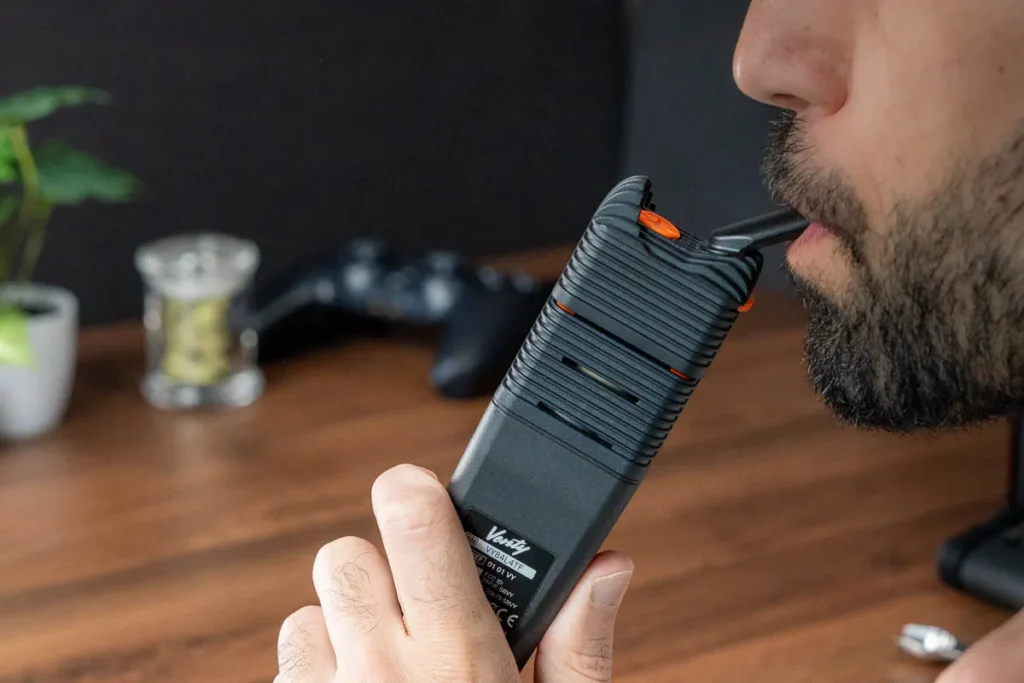
Once the vaporizer has finished heating up, it is time to start vaping, so you want to take it easy the first time you inhale. You should start with long, slow inhales of about seven to ten seconds at a time before exhaling. All of the inhales should be done at this slow, steady pace for the duration of your session.
Clean your vape
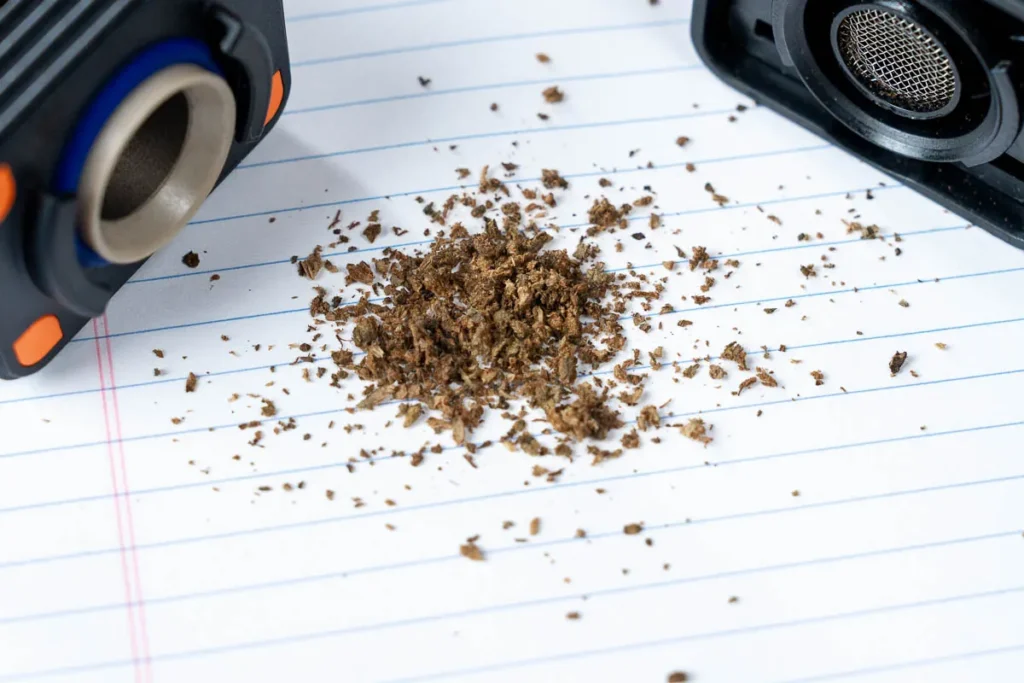
You want to keep the oven and mouthpiece of your vaporizer clean of course, but you only need to clean your dry herb vape after every ten to twenty sessions. You can clean the oven using any brush but you can stick with the one included in your vaporizer’s kit, assuming one was included. The best time to clean the oven is while it is still warm, before the residue cools down and hardens because that makes cleaning more difficult.
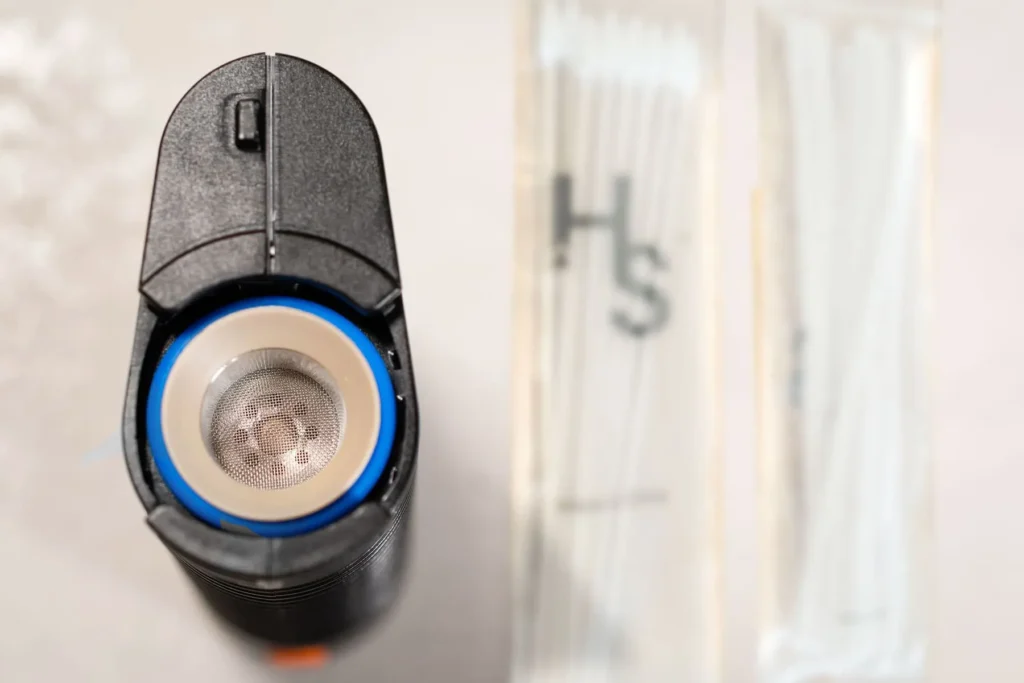
You can clean the mouthpiece of your vaporizer using q-tips and isopropyl alcohol. A clogged mouthpiece can reduce airflow and make vaping more difficult so make sure to keep it clean. These are generalized tips but you should check the vaporizer manual and follow the instructions before cleaning the oven or mouthpiece yourself.
Final Thoughts
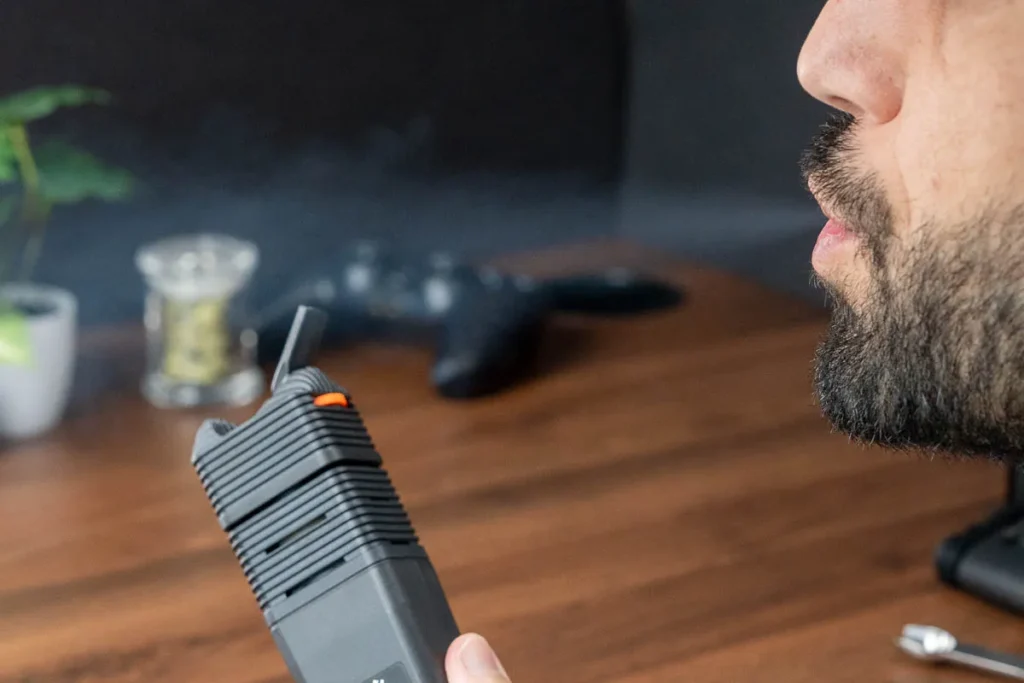
This might seem like a lot of steps to start using a dry herb vaporizer, but they’re all pretty simple, you’ll probably have more trouble setting up your new TV than you will with your vape. The first and most important thing you need to do is to read the instruction manual. That is because the tips and advice on this page are generalized for all types of dry herb vaporizers and you want to make sure that you are using your vaporizer in the way that the manufacturer intended.
You don’t need to know how a weed vape works in order to use it, in fact, the only other thing you need to know is when to replace the herb in the oven. So, now that you see that vaping is a cinch, it’s time for you to get the best dry herb vaporizer you can so that you can experience the best way to enjoy marijuana.